
Print your own Flying Lotus
The latest version of the Flying Lotus consists of two components:
- Main computer body or chassis
- Stand
Both components need additional hardware that you can either source yourself, or you can purchase a Print-It-Yourself kit from the link below, which includes all the non-printed parts.
Main computer body
3D printer requirements
-
- A minimum build area of 310×260 mm in XY axes.
- Dual nozzles or the ability to print the supports in a different material that doesn’t bond well with the main body (like PETG and PLA)
Hardware and parts
(all of these come in the kit, if you choose to get that)
- Transparent rear cover (printable version also available)
- Hardware
- Heat-set inserts:
- M2x3mm (x5)
- M3x5mm (x22)
- Screws:
- M3x6mm (x5)
- M3x8mm (x4)
- M3x5mm countersunk (x13)
- M2x5mm (x2) – (only needed if you’re installing an audio board)
- Heat-set inserts:
Like mentioned above, to print the body you need a printer with a fairly big build area, about 310x260mm in XY axes.
I really don’t recommend printing the body with PLA, since the heat from the computer will probably weaken and/or deform it. You need a printer with a dual nozzle, or at least the ability to print the supports in a different material that doesn’t bond that well with the main body so that it can be easily removed. I print the main body in PETG and the supports in PLA, and that’s worked really well.
There are a few reasons for needed two nozzles or materials:
- The main body is designed to print as a single piece with the screen side facing down towards the build plate. This means that most of the screen side is held up by supports.
- The slots for the stand are wide and short, if you print those unsupported they sag quite a bit and the stand can’t slide in cleanly. At the same time, they are too deep to place traditional supports that can be pried away.
- Supports are needed in several areas that are pretty thin, where it would be tough to remove supports, so a material that doesn’t bond well with the main body is needed in order to make removing the supports possible without damaging the thin parts.
It MIGHT be possible to do it with same-material supports, but I’ve never tried it, and sometimes removing the less-sticky supports is tough enough, so I wouldn’t recommend it.
The first versions of the Flying Lotus body were designed to print with a single-nozzle. So it was printed in two parts (screen-side, and mainboard-side), but they needed a custom aluminum piece in the middle where all the parts screwed into. This custom metal spine was by far the most expensive item in the whole build ($80-$110 by itself, depending on how many units I ordered), so when I got a dual nozzle printer, I redesigned it to be printed in a single piece, and made the barrier to entry much smaller.
Still, this does narrow down the variety of printers you can use. But a Bambu H2D or a Prusa XL with two or more toolheads would work.
The Flying Lotus is designed to be coupled with a stand that tries to strike a good balance between portability when the computer is in transit, and stability while the computer is in use, whether that’s in a coffee shop, or a moving airplane or train.
You can use any tablet stand that supports a thickness of at least 23mm or 15/16″ and a weight of at least 1100g / 2.5lbs. But In my biased opinion, the Flying Lotus stand strikes the best balance between portability, ergonomics, and stability.
The original stand is included in the downloadable files. This uses a standard metal coupon as the neck, and that works fine. However, over the last two years, I did a few improvements to the stand that made it more complicated, and added more custom-cut metal parts. So I’ve made those available as a Print-it-yourself kit, or fully assembled.
So in total you have 3 options:
- Adjustable stand (kit or fully assembled)
- Fixed stand (kit or fully assembled)
- Basic stand (printable, uses a welding coupon as the neck/spine)
Adjustable stand
This is the most complex version of the stand. It has an adjustable angle and an extendable, weighted base for stability. This is by far my favorite of the all the stand I’ve used with the Flying Lotus.
Unfortunately, it needs several custom powder-coated metal parts, and an expensive friction hinge. So while it’s really portable, stable, and high quality, all of those qualities also make it the priciest of the stand options.
You can order this stand fully assembled, or as a print-it-yourself kit, which includes the metal parts and hardware needed.


Fixed stand
In the name of affordability, I also included the previous version, which I used for about a year. It’s not adjustable, but it does include a steel base which makes it much more stable than the printed version. It’s portable, it has fewer metal parts than the adjustable one, and no expensive hinges, so the price is lower, and it does work well in most environments.
You can order a finished stand, or a print-it-yourself kit which includes all the non-printable parts.


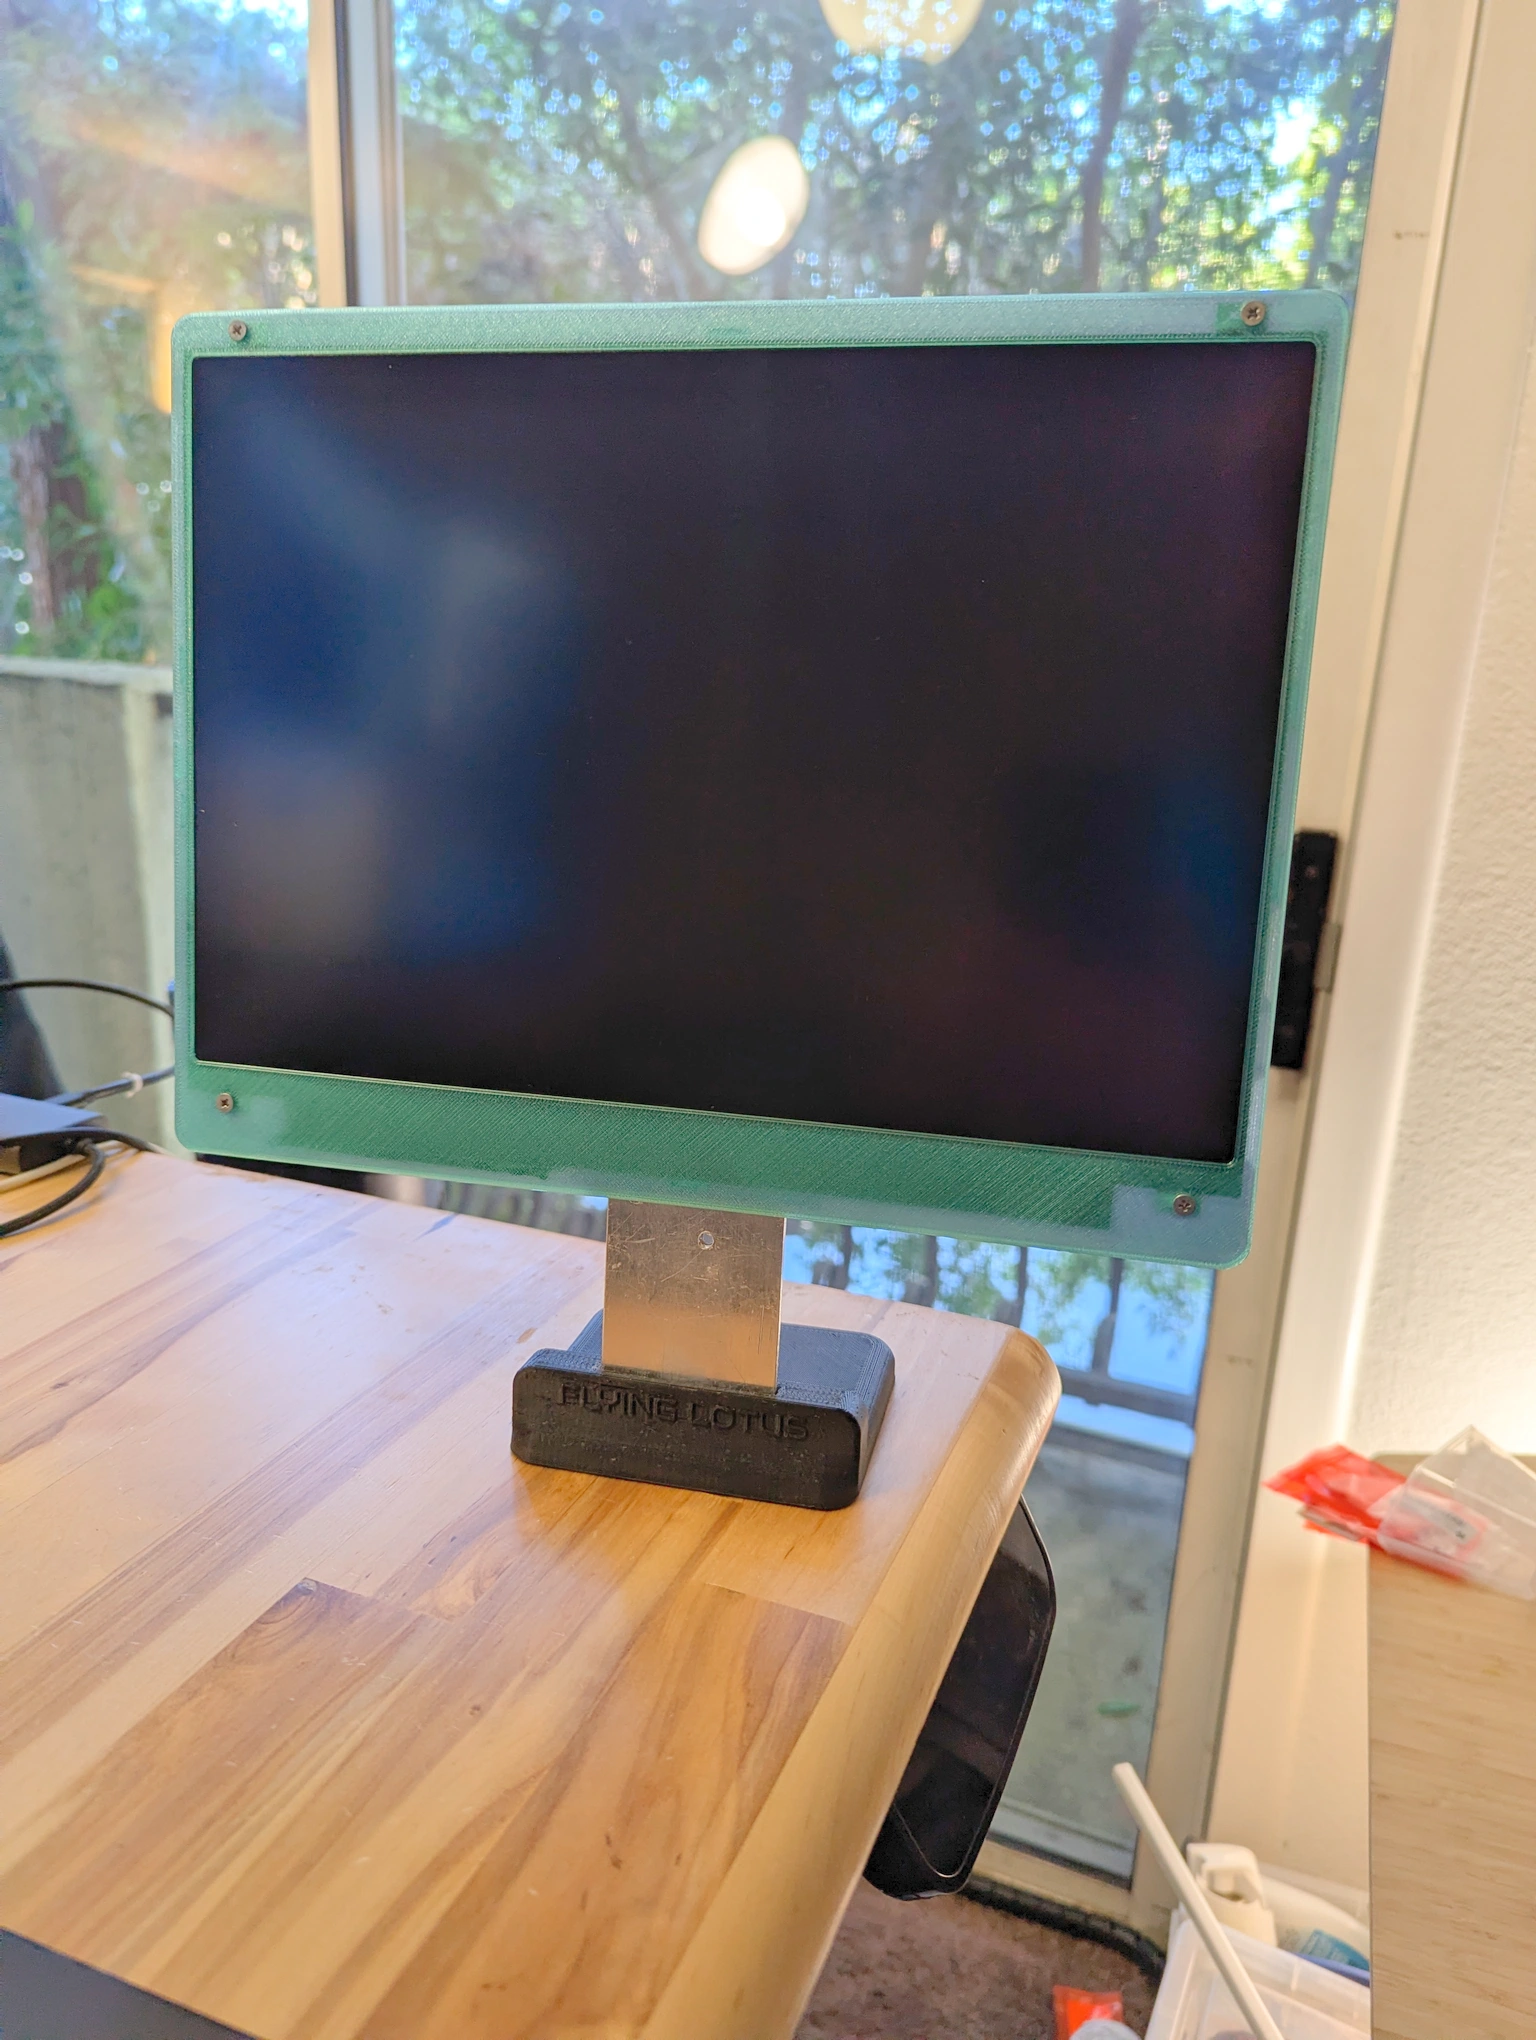
Basic stand
I wanted to include an option that doesn’t need custom metal parts. This stand is pretty much the same as the fixed stand, but without the custom metal weight and neck parts.
The printable file for the base is included in the files above, but it still does need a metal part for the neck. However, instead of a custom laser-cut piece, it uses a standard welding coupon.
These coupons are meant for welders to practice, so you can get them at a welding shop. This is the most affordable option, but it does have some disadvantages.
Disadvantages
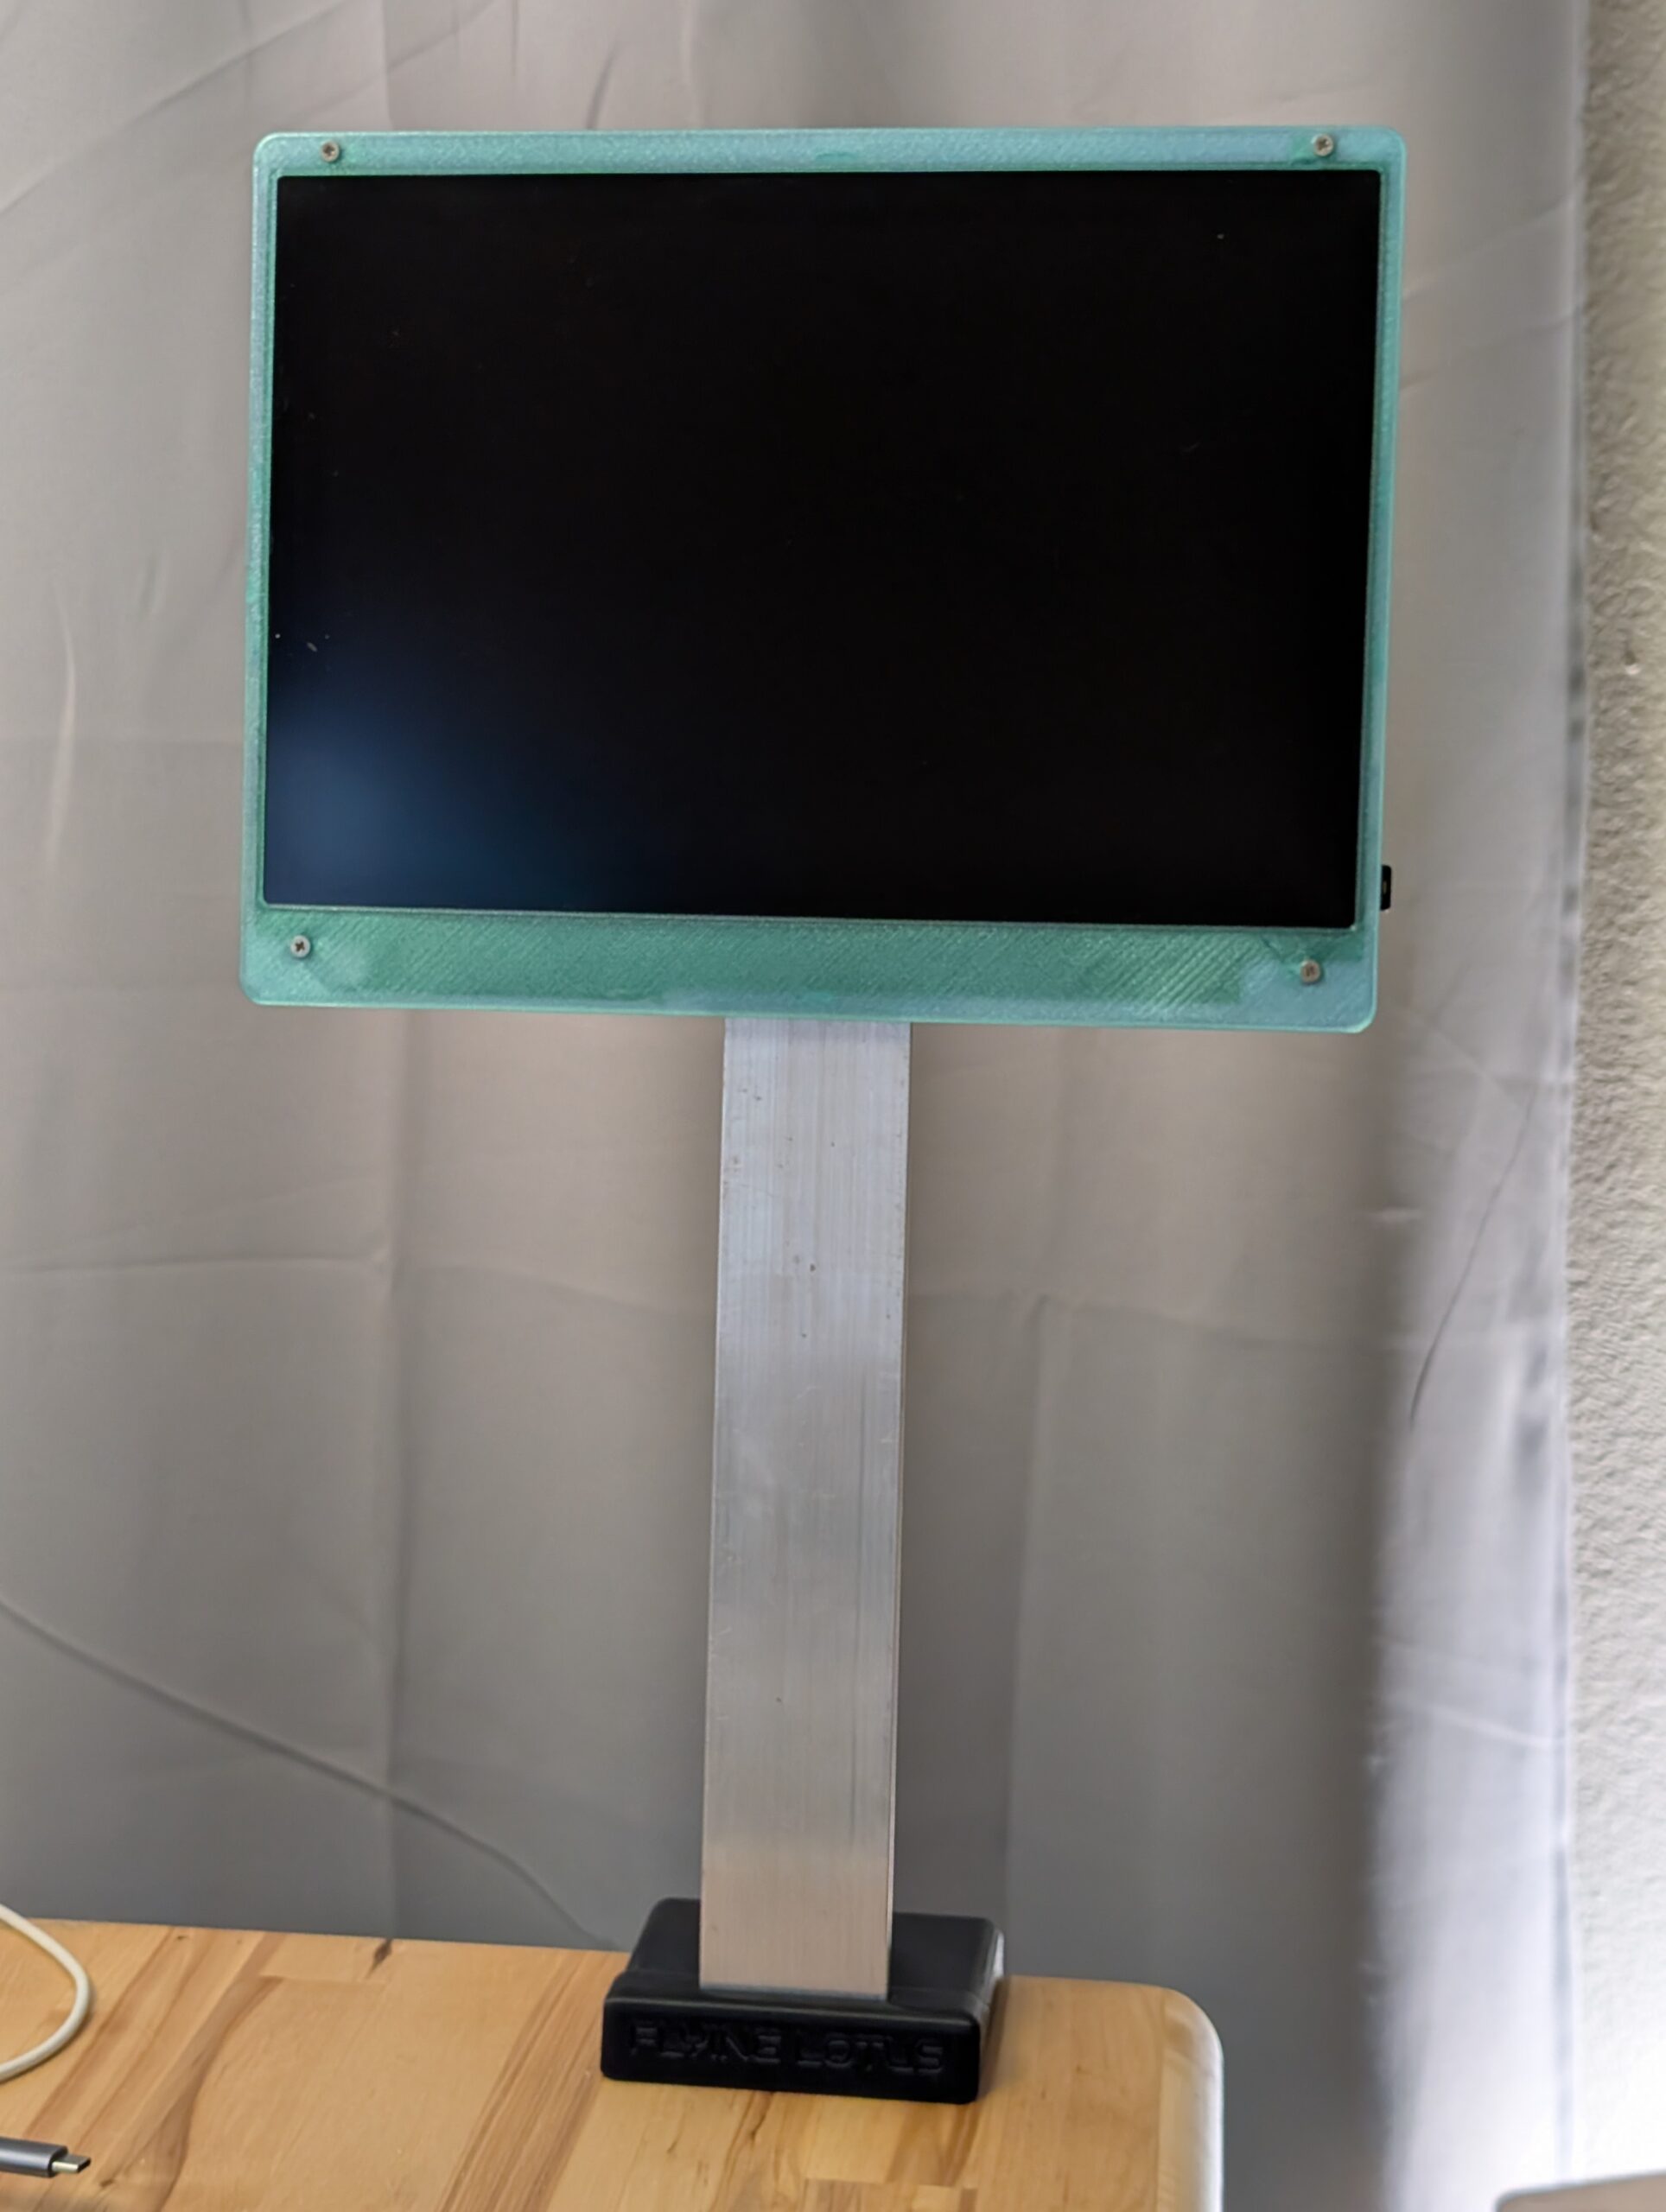
The Basic stand won’t have the weight at the bottom, so it’s not as stable. Plus, while coupons were great when I was in the prototype stage, they do have sharp edges and corners, so you might need to de-burr them, or sand them down, and potentially paint them (the ones in the kits are powder-coated).
Lastly, the most readily available coupons I found were not in the right length for the computer to be at an optimal height.
I found the optimal length to be 200mm (8″), which is the size of the neck in the kit. However, the most common length I found was 100mm (4″), which is too low. The second most common length is 300mm (12″), which is too high. But of course you can get one that’s too long and cut it down to a more manageable length (I don’t recommend going much longer than 200mm (8″) as it will make the stand very unstable (the long one on the photo below is clamped to the table, otherwise it won’t stand).
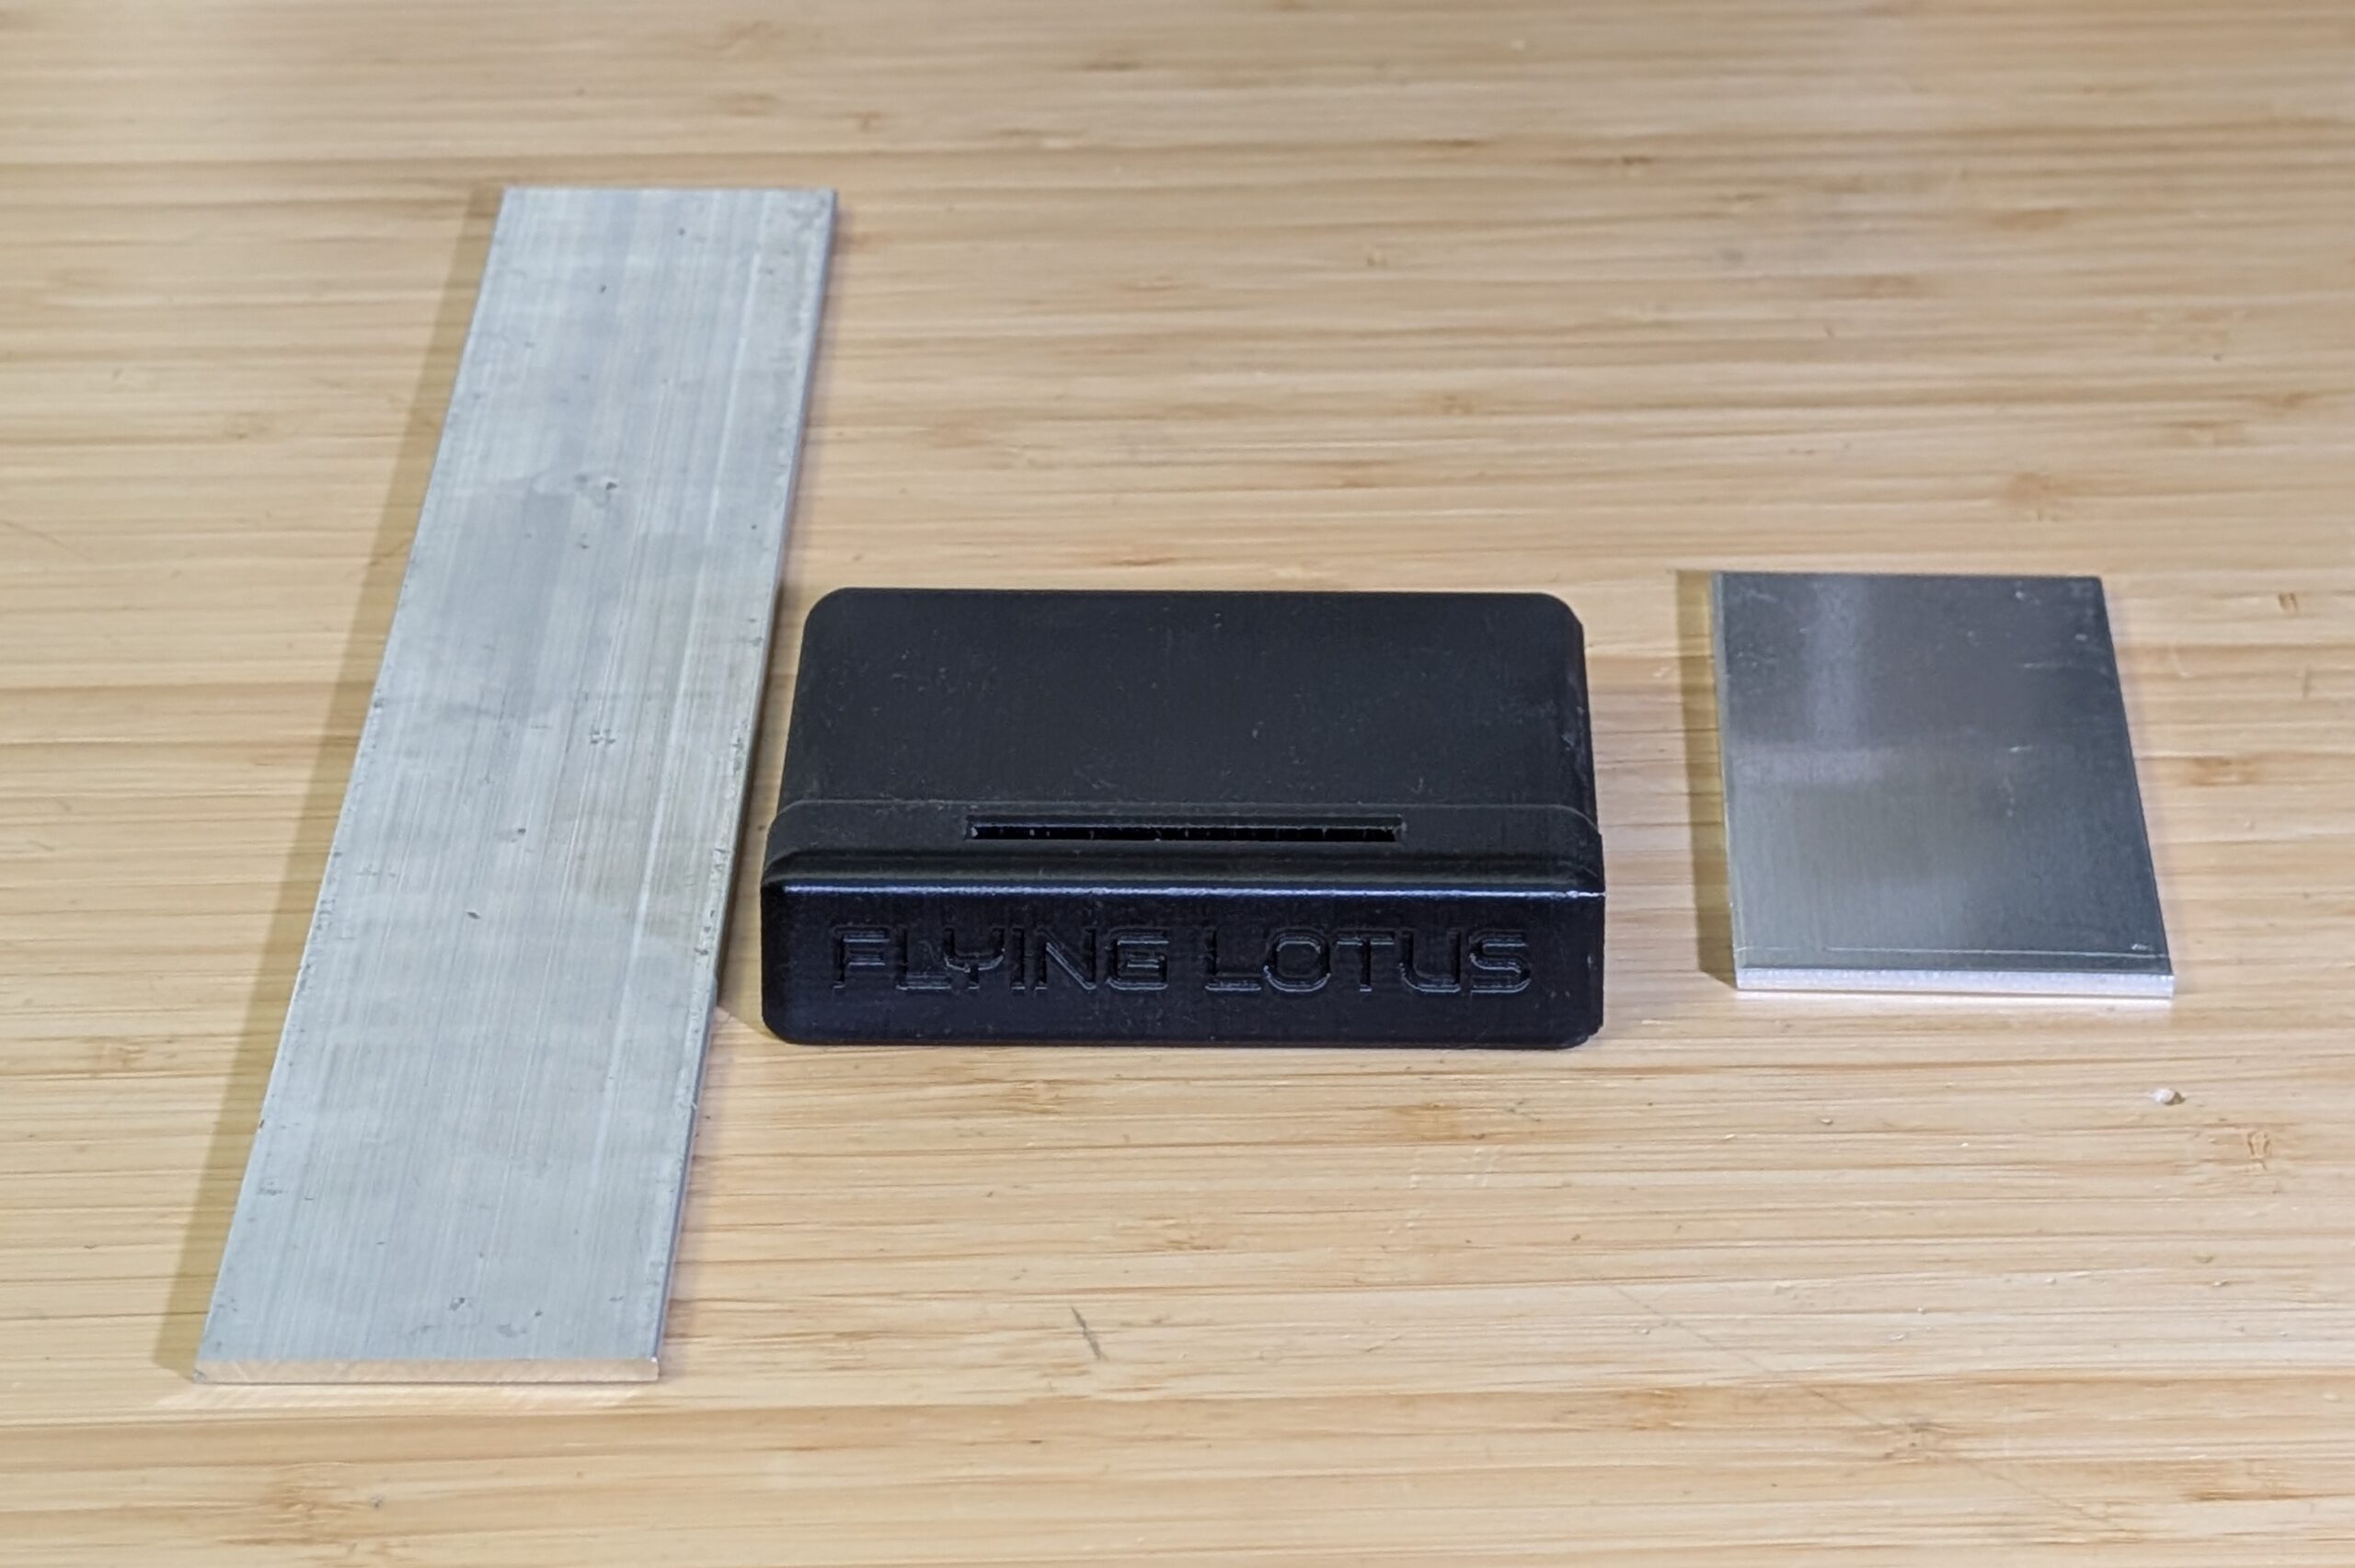
Basic stand with welding coupons
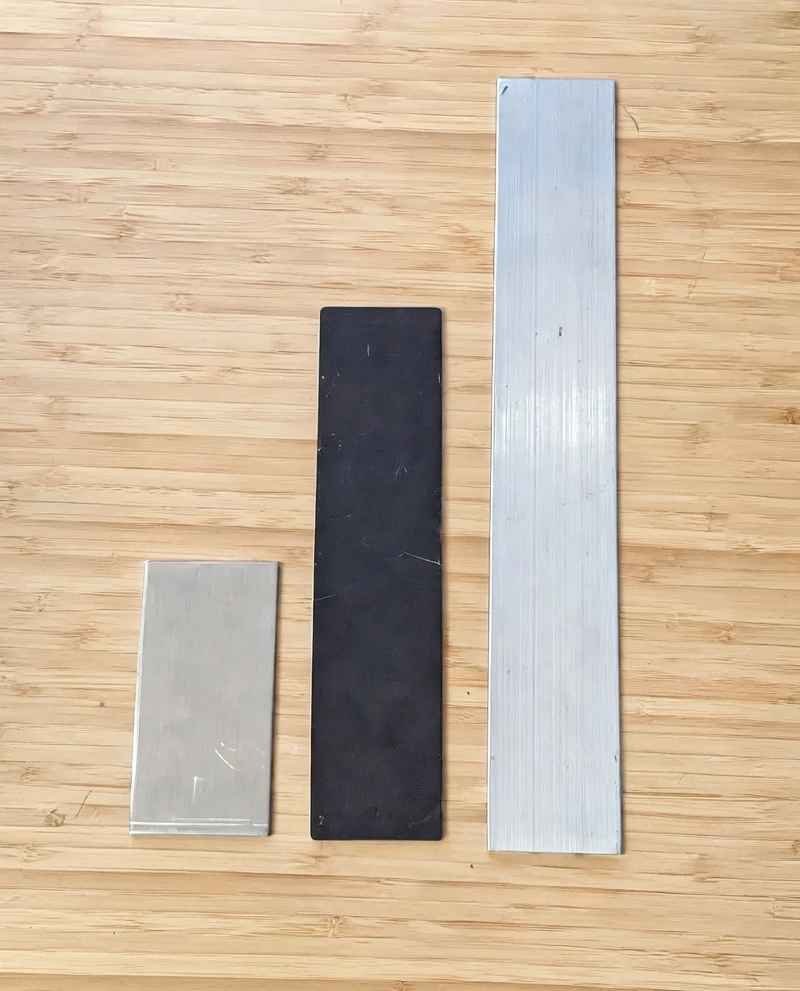
8″ custom neck between a 6″ and 12″ coupons
6″ coupon as stand neck
12″ coupon as stand neck (unstable)
The Basic stand is included in the files above. Pretty much any printer will do, since the biggest dimension is 100mm.
Additional materials needed
- Welding coupon with the following dimensions:
- Width: 50mm (2″)
- Thickness: 3mm (1/8″)
- Height/Length: 200mm (8″) recommended. You can cut to the length that fits you best, but the longer you go the less stable it’ll be, so I wouldn’t go much longer than the recommendedh 200mm.
- 10mm rubber feet with adhesive backing (x4)
- Deburring or sanding tools. Optional but depending on the coupons you get, they might have sharp corners. I recommend aluminum since it’s lighter and easier to cut than steel.